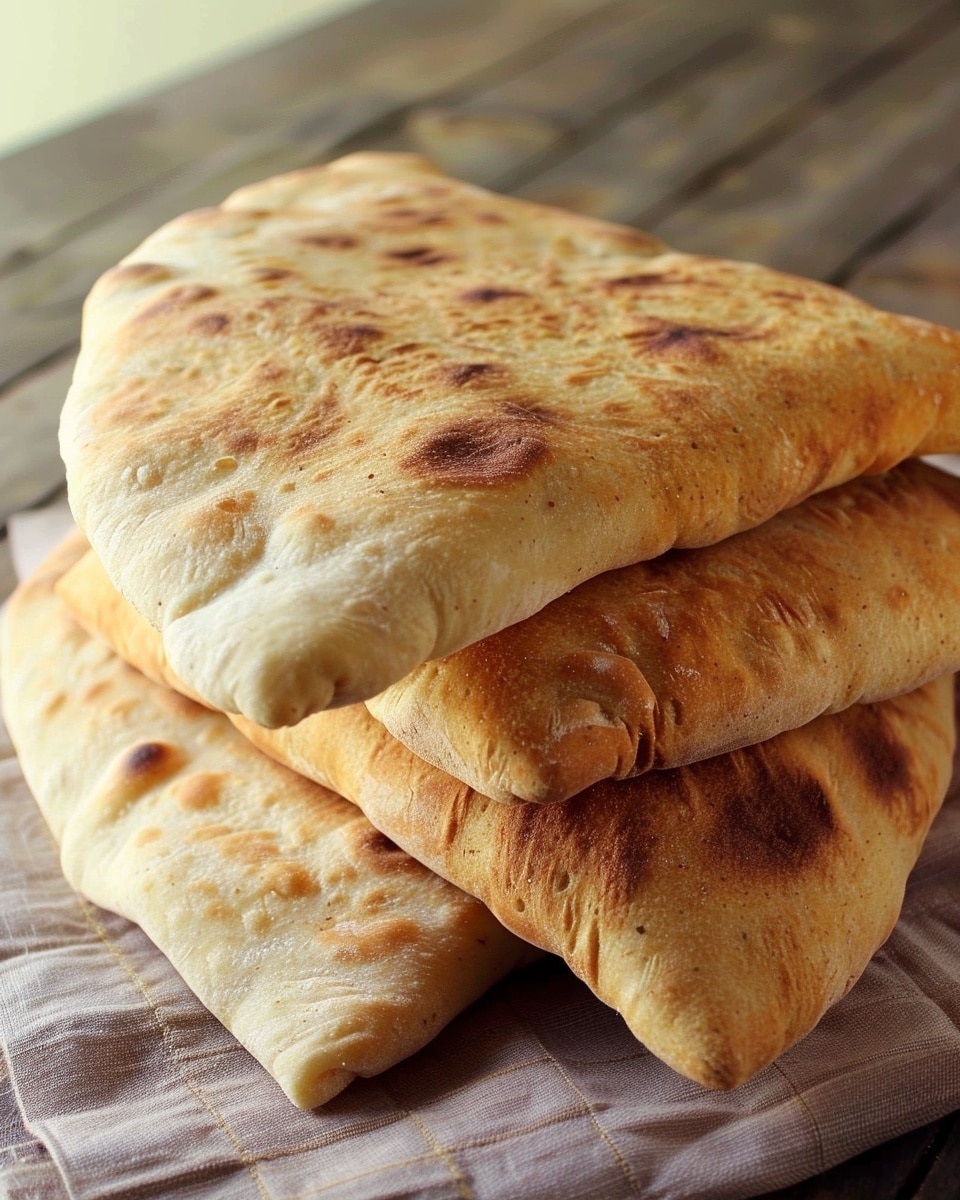
This homemade pita bread is soft, warm, and beautifully puffed with a perfect pocket inside. Made with simple pantry ingredients, it delivers a fresh, comforting flavor that easily beats store-bought versions. Watching each round rise in the oven is both satisfying and rewarding, making this recipe a staple for everyday meals.
Why You’ll Love This Recipe
This recipe is simple, reliable, and incredibly rewarding. With just a few basic ingredients, you can create soft and chewy pita bread that forms a perfect pocket every time. It’s beginner-friendly and requires no special equipment, making it ideal for home bakers of all levels.
The dough is easy to handle and forgiving, so even if you are new to baking, you will get great results. The high heat baking method ensures that signature puff, creating a hollow center perfect for stuffing with your favorite fillings. It’s also versatile—you can enjoy it as a wrap, with dips, or alongside meals.
Ingredients
(Tip: You’ll find the full list of ingredients and measurements in the recipe card below.)
3 cups all purpose flour
2 1/4 teaspoons active dry yeast
1 teaspoon sugar
1 1/4 cups warm water
1 teaspoon salt
1 tablespoon olive oil
Directions
Start by combining the warm water, sugar, and yeast in a large bowl. Let it sit for about 5 to 10 minutes until it becomes foamy. This step ensures the yeast is active and ready to help the dough rise.
Add the flour, salt, and olive oil to the yeast mixture. Stir until a rough dough forms. Transfer the dough to a lightly floured surface and knead for about 8 minutes. The dough should become smooth, soft, and slightly elastic.
Place the dough in a lightly oiled bowl, cover it, and let it rise for about 1 hour or until it doubles in size. This resting period is essential for developing the texture and flavor.
Preheat your oven to 475°F (245°C) and place a baking tray or stone inside to heat up. Divide the dough into 8 equal portions and roll each piece into a thin circle, about 6 inches wide.
Carefully place the dough rounds onto the hot baking surface. Bake for 4 to 5 minutes until they puff up and turn lightly golden. Remove them and wrap in a clean towel to keep them soft while you bake the remaining pieces.
Servings and timing
This recipe makes 8 pita breads.
Prep time: 15 minutes
Cook time: 5 minutes
Total time: 1 hour 20 minutes (including rising time)
Variations
You can substitute part of the all purpose flour with whole wheat flour for a nuttier flavor and added fiber. A 50/50 mix works well without making the bread too dense.
For a softer texture, add a little extra olive oil to the dough. If you prefer a slightly tangy taste, you can experiment with a sourdough starter instead of yeast, though it will require more time.
You can also cook the pita on a hot skillet instead of baking it. While it may not puff as dramatically, it will still create a delicious flatbread.
Storage/Reheating
Store leftover pita bread in an airtight bag at room temperature for up to 3 days. Adding a paper towel inside the bag helps absorb excess moisture and keeps the bread fresh.
For longer storage, freeze the pita breads with parchment paper between each piece to prevent sticking. They can last up to 2 months in the freezer.
To reheat, warm the pita in a hot oven for a few minutes or heat it in a skillet. This restores its softness and makes it taste freshly baked again.
FAQs
Why didn’t my pita bread puff?
If the oven or baking surface isn’t hot enough, steam won’t form quickly, preventing the puff.
Can I make the dough ahead of time?
Yes, you can refrigerate the dough for up to 24 hours and let it come to room temperature before baking.
What is the ideal thickness for rolling?
Roll each piece evenly to about 1/4 inch thick for best puffing results.
Can I freeze the dough instead of baked pita?
Yes, but it’s easier and more reliable to freeze baked pita instead.
Do I need a baking stone?
No, a preheated baking tray works well too.
How do I keep pita soft after baking?
Wrap them in a clean towel immediately after baking to trap steam.
Can I use instant yeast instead of active dry yeast?
Yes, you can use the same amount and skip the proofing step.
Why is my pita dense?
Over-flouring or under-kneading can lead to dense bread.
Can I make smaller or larger pitas?
Yes, just adjust the size and baking time slightly.
Is this recipe suitable for beginners?
Absolutely, it’s simple and very forgiving.
Conclusion
This homemade pita bread recipe proves that simple ingredients can create something truly special. With a bit of kneading and a hot oven, you can achieve soft, flavorful bread with that classic pocket every time. Whether you use it for wraps, dips, or sandwiches, this recipe is one you’ll come back to again and again.


