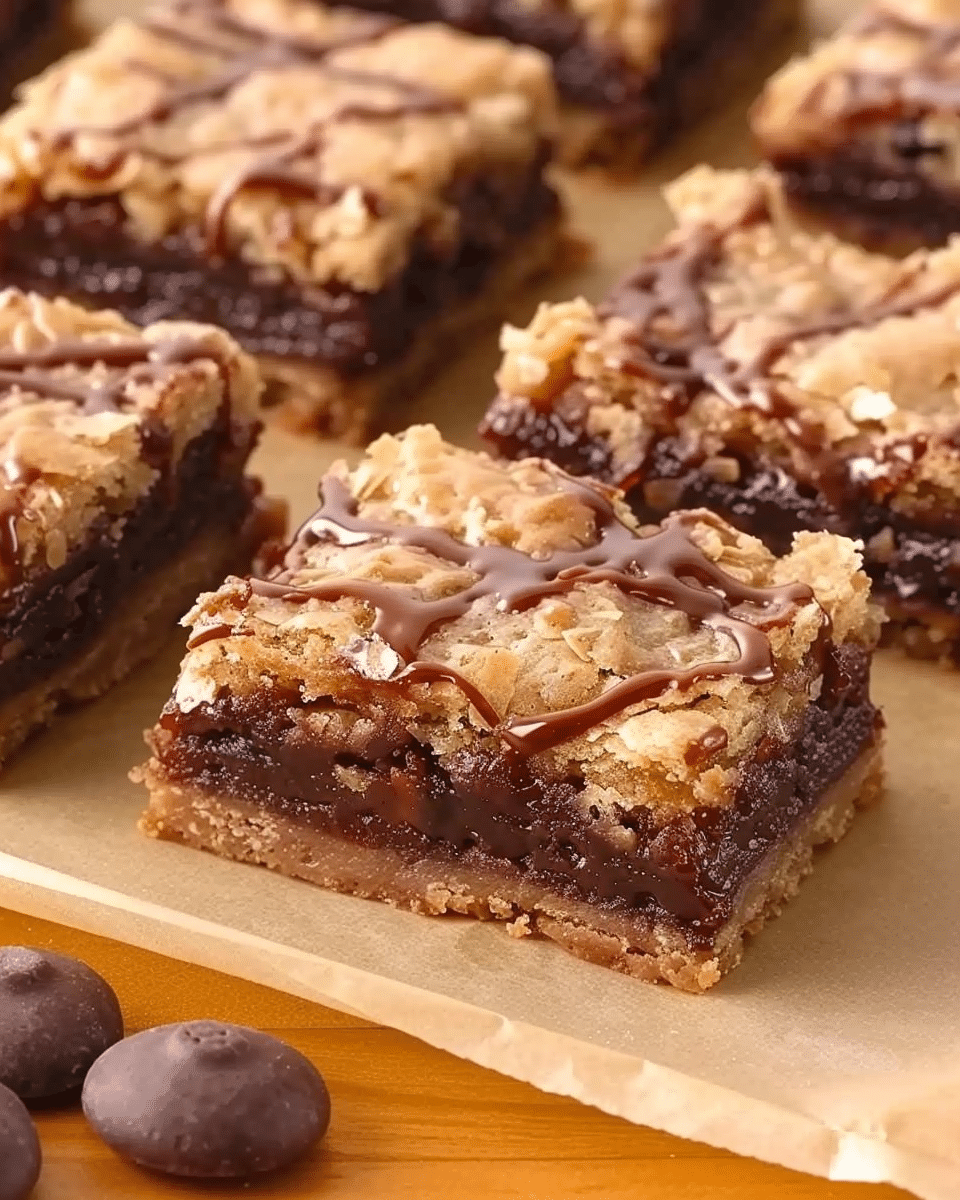
These Millionaire Magic Bars are a rich, layered dessert packed with textures and flavors. From the buttery graham cracker crust to the gooey sweetened condensed milk topping, each bite is indulgent, crunchy, and satisfying. I like how easy it is to make this recipe with just a few pantry staples, and the results are always a crowd-pleaser.
Why You’ll Love This Recipe
I love this recipe because it combines simplicity with decadence. The layers come together effortlessly, yet the finished bars taste like they came from a bakery. I can easily customize it with different nuts or chocolate chips depending on what I have on hand. Plus, it’s perfect for potlucks, holidays, or just a sweet treat for the week.
Ingredients
(Here’s a tip: Check out the full list of ingredients and measurements in the recipe card below.)
1 ½ cups graham cracker crumbs
½ cup melted butter
1 cup sweetened shredded coconut
1 cup semi-sweet chocolate chips
1 cup chopped nuts (walnuts or pecans)
1 can (14 oz) sweetened condensed milk
Directions
I start by preheating the oven to 350°F (175°C) and lining an 8×8-inch baking pan with parchment paper, leaving some overhang to make it easy to lift the bars out later.
In a medium bowl, I mix the graham cracker crumbs and melted butter until well combined. Then, I press the mixture firmly into the bottom of the prepared pan to form a solid crust.
I bake the crust for 8-10 minutes until it’s lightly golden and fragrant, then remove it from the oven.
While the crust is still warm, I evenly sprinkle the shredded coconut over it, followed by the chocolate chips and chopped nuts.
I pour the sweetened condensed milk evenly over the entire surface, gently spreading it with a spatula to cover everything.
Then, I bake the bars for 25-30 minutes, or until the top is golden and bubbly.
I let the bars cool completely in the pan on a wire rack.
Once cooled, I lift them out using the parchment paper and cut them into squares.
Servings and timing
This recipe yields 16 servings. Prep Time: 10 minutes Cooking Time: 35 minutes Total Time: 45 minutes Calories: Approximately 350 kcal per bar
Variations
I sometimes switch things up by using white chocolate or butterscotch chips instead of semi-sweet. If I’m out of graham crackers, crushed digestive biscuits work well too. I’ve also made a festive version with dried cranberries and almonds for the holidays. The base recipe is incredibly versatile.
Storage/Reheating
I store these bars in an airtight container at room temperature for up to 4 days. If I want them to last longer, I refrigerate them for up to a week. They also freeze beautifully — I just wrap them individually and store in a zip-top bag for up to 2 months. When I want to enjoy one, I let it thaw at room temperature or warm it briefly in the microwave for that melty chocolate texture.
FAQs
What kind of nuts work best in Millionaire Magic Bars?
I usually go with walnuts or pecans because they add a nice crunch and nutty flavor, but almonds or cashews would also work great.
Can I make these bars without coconut?
Yes, I’ve skipped the coconut before and they still turned out delicious. If I want a similar texture, I sometimes use crushed cornflakes or oats.
How do I know when the bars are done baking?
I look for a golden, slightly bubbly top. The edges should be set, and the center should no longer look overly wet.
Can I double the recipe?
Absolutely. When I’m making this for a crowd, I double everything and use a 9×13-inch baking pan. I just add 5-10 extra minutes to the bake time.
Why are they called “Millionaire” Magic Bars?
The name likely comes from how rich and decadent these bars taste. I think they’re worth their weight in gold!
Conclusion
These Millionaire Magic Bars are one of my go-to recipes when I want something easy, sweet, and impressive. With layers of flavor and texture, they’re always a hit at gatherings or just as a treat at home. Once I made them the first time, they quickly became a staple in my dessert rotation.
Millionaire Magic Bars are rich, layered dessert bars featuring a buttery graham cracker crust topped with shredded coconut, chocolate chips, nuts, and sweetened condensed milk. They’re gooey, crunchy, and irresistibly indulgent—perfect for potlucks, holidays, or anytime you want a sweet treat.
Total Time:45 minutes
Yield:16 bars
Ingredients
1 ½ cups graham cracker crumbs
½ cup melted butter
1 cup sweetened shredded coconut
1 cup semi-sweet chocolate chips
1 cup chopped nuts (walnuts or pecans)
1 can (14 oz) sweetened condensed milk
Instructions
Preheat oven to 350°F (175°C). Line an 8×8-inch baking pan with parchment paper, leaving an overhang for easy removal.
In a bowl, combine graham cracker crumbs and melted butter. Press firmly into the bottom of the prepared pan to form a crust.
Bake the crust for 8–10 minutes until lightly golden. Remove from oven.
Sprinkle coconut evenly over the warm crust, then layer chocolate chips and chopped nuts on top.
Pour sweetened condensed milk evenly over the entire surface. Use a spatula to gently spread it out.
Bake for 25–30 minutes, or until the top is golden and bubbly.
Cool completely in the pan on a wire rack. Once cooled, lift out using parchment and cut into squares.
Notes
Use white chocolate or butterscotch chips for variation.
Substitute digestive biscuits for graham crackers if needed.
Add dried cranberries and almonds for a festive twist.
Skip the coconut or replace with oats or crushed cereal if preferred.
Double the recipe for a 9×13-inch pan and increase bake time slightly.


