I’m excited to share this fun and easy recipe for Cheesy Pepperoni Pizza Roll-Ups—perfect for a cozy snack, lunch, or quick dinner. They’re simple, satisfying, and bring all the flavours of a pepperoni pizza in a portable roll-up form.
Why You’ll Love This Recipe
I love this recipe because it’s:
Quick to prepare—just a few minutes of assembly before baking.
Super cheesy and pepperoni-rich, delivering all the classic pizza flavour in a fun format.
Versatile—I can easily switch up the fillings, seasonings or even tortilla types to match what I have on hand.
Great for sharing, parties or casual meals because they’re handheld and fun.
Ingredients
(Tip: You’ll find the full list of Ingredients and measurements in the recipe card below.)
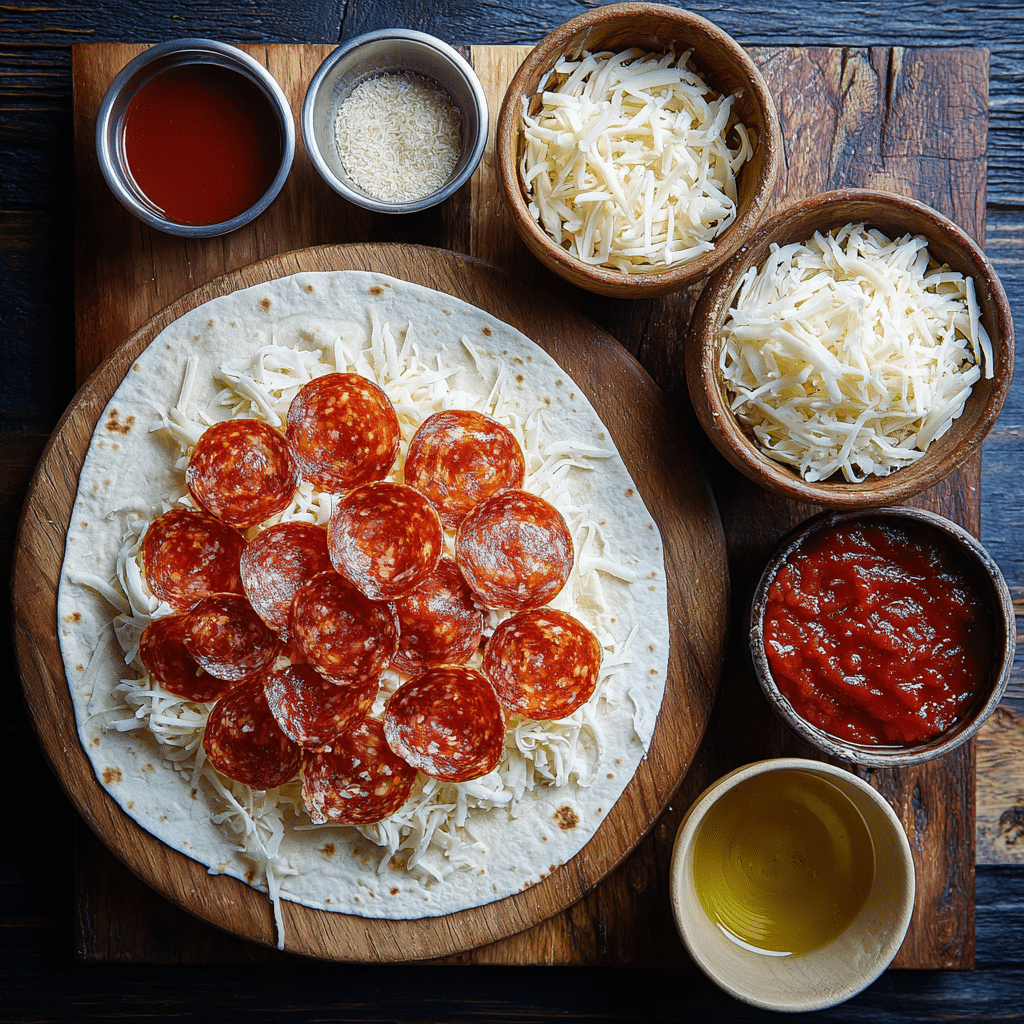
2 large flour tortillas
1 cup shredded mozzarella cheese
½ cup sliced pepperoni
¼ cup pizza sauce
1 teaspoon Italian seasoning
1 tablespoon olive oil
¼ teaspoon garlic powder
Directions
Preheat my oven to about 200 °C (around 400 °F) and line a baking tray with parchment or lightly oil it.
Lay the two large flour tortillas flat. Spread about 2 tablespoons of pizza sauce onto each tortilla, leaving a small margin around the edges.
Evenly distribute shredded mozzarella across each tortilla, then scatter the sliced pepperoni on top.
Sprinkle Italian seasoning and garlic powder over the fillings.
Tightly roll up each tortilla (starting from one long edge) and brush the outside with the olive oil to help crisp the exterior. Place each roll seam side down on the baking tray.
Bake in the preheated oven for about 10–12 minutes, or until the tortillas are golden-brown and the cheese inside is melted and gooey.
Remove from oven, let rest briefly (1–2 minutes), then slice each roll into perhaps 3-4 pieces if desired. Serve–optionally with extra warm pizza sauce for dipping.
Servings and Timing
This recipe makes approximately 2 large roll-ups (or 6–8 slices if you cut them up)—enough for 1–2 people as a light meal or snack.
Total time: ~15 minutes (5 minutes prep + ~10 minutes bake).
Variations
Swap the flour tortillas for whole-wheat or spinach tortillas for a twist.
Use different cheeses: try a mix of mozzarella and provolone or cheddar for extra flavour.
Add extras inside: diced green pepper, sliced olives, cooked sausage, or even fresh basil for a gourmet touch.
Brush with garlic-butter instead of olive oil for a richer crust.
Make them ahead: roll them up, wrap in foil and refrigerate; bake when ready and serve fresh.
Storage/Reheating
Storage: Once completely cooled, wrap leftovers tightly in foil or place in an airtight container and refrigerate for up to 2–3 days.
Reheating: Preheat oven to ~175 °C (350 °F). Place roll-ups on a baking sheet and heat for about 8-10 minutes until warmed through and the tortilla is crisp again. An air-fryer also works well for about 4-5 minutes at ~180 °C.
Freezing: For longer-term storage, wrap individually and freeze for up to 1 month. Reheat from frozen in the oven at ~180–190 °C for ~12–15 minutes.
FAQs
What type of tortillas work best?
I find large flour tortillas (burrito-size) easiest—they roll smoothly, have enough surface area for fillings, and crisp nicely when baked. You could use whole-wheat or spinach tortillas too.
Can I make this vegetarian or change the filling?
Yes—totally! Simply omit the pepperoni and add vegetables like roasted red peppers, mushrooms, or spinach. You could use vegetarian pepperoni or vegan cheese to adapt further.
How can I prevent the roll-ups from getting soggy?
Two good tips:
Don’t overfill—too much filling can cause the tortilla to tear or leak.
Brush the outside with oil (or garlic-butter) and bake on a tray with enough space so the hot air circulates; this helps crisp the tortilla.
Can I make these ahead of time and bake later?
Yes, you can roll them up ahead of time, wrap in foil and refrigerate. Then bake when ready. For best texture, bake them just before serving.
How can I add extra flavours or seasoning on top?
After brushing the outside with oil or garlic-butter, I like to sprinkle a little extra Italian seasoning, garlic powder, or even grated Parmesan cheese before baking for an extra flavour boost.
Conclusion
I hope you enjoy making these Cheesy Pepperoni Pizza Roll-Ups—they’re a fast, tasty way to enjoy pizza flavours in a fun roll-up form. They’re flexible, crowd-friendly, and perfect for when I want something a bit different but still comforting. Let me know how yours turn out or how you like to customise yours!
Quick and cheesy pepperoni pizza roll-ups made with tortillas, perfect for a snack, lunch, or casual meal. These portable rolls deliver all the flavors of classic pizza in a fun, crispy format.
Total Time:15 minutes
Yield:2 roll-ups (6–8 slices)
Ingredients
2 large flour tortillas
1 cup shredded mozzarella cheese
½ cup sliced pepperoni
¼ cup pizza sauce
1 teaspoon Italian seasoning
1 tablespoon olive oil
¼ teaspoon garlic powder
Instructions
Preheat the oven to 200°C (400°F) and line a baking tray with parchment paper or lightly oil it.
Lay the flour tortillas flat. Spread about 2 tablespoons of pizza sauce on each, leaving a small margin around the edges.
Evenly sprinkle mozzarella cheese over the tortillas, followed by sliced pepperoni.
Season with Italian seasoning and garlic powder.
Tightly roll up each tortilla from one long edge. Brush the outside with olive oil and place seam side down on the prepared tray.
Bake for 10–12 minutes, or until golden brown and the cheese is melted.
Let rest for 1–2 minutes, then slice each roll into 3–4 pieces if desired. Serve with warm pizza sauce for dipping.
Notes
Brush with garlic-butter instead of olive oil for a richer flavor.
Customize with vegetables, sausage, or different cheeses.
To make ahead, roll up and refrigerate until ready to bake.
For crispier results, avoid overfilling and give enough space on the tray.


