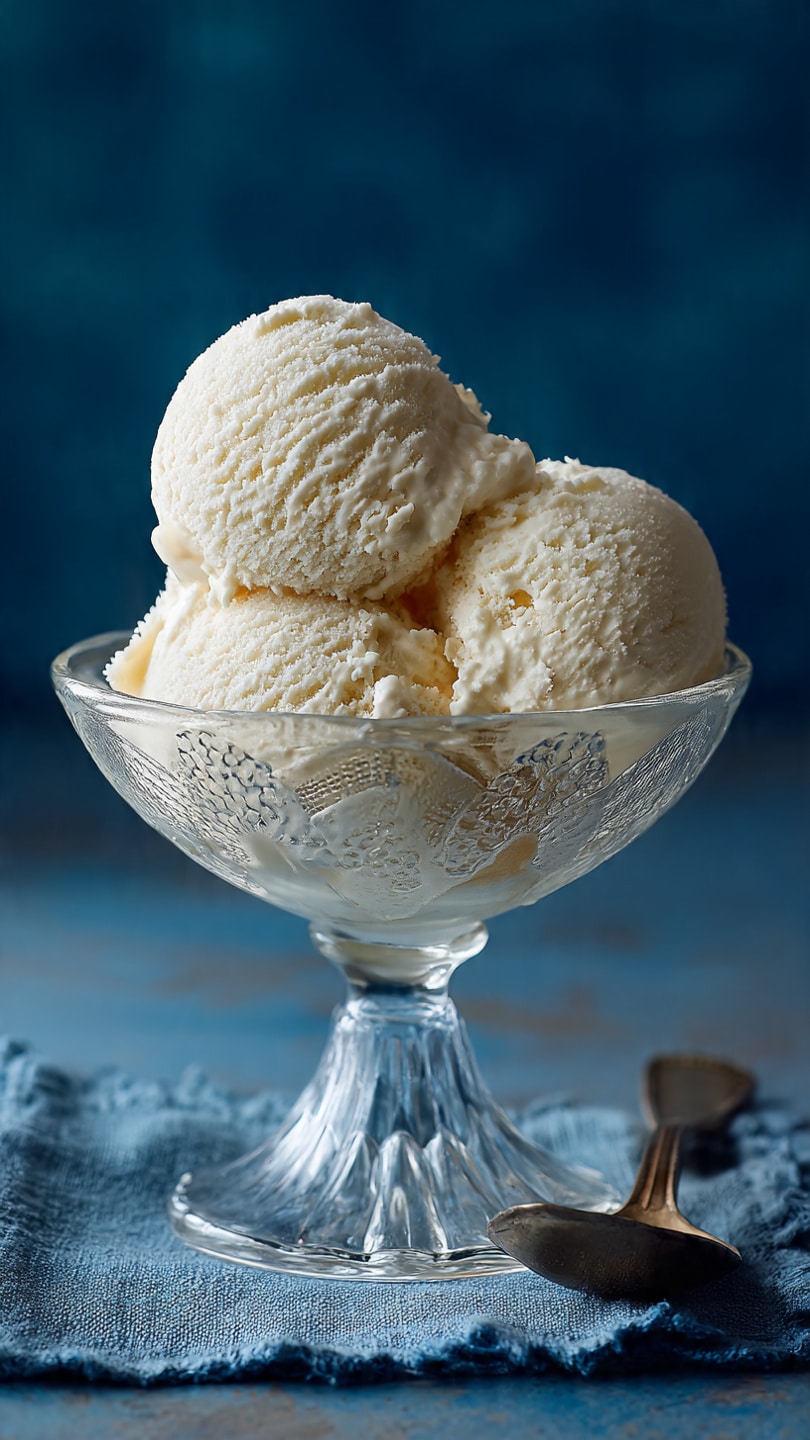
I love how this old-fashioned snow ice cream turns a snowy day into something truly special. With just two simple ingredients, I can make a creamy, nostalgic dessert that feels both playful and comforting. It’s the kind of recipe that brings back childhood memories and makes winter days feel a little sweeter.
Why You’ll Love This Recipe
I enjoy this recipe because it’s incredibly easy and requires almost no prep. I like that I can make it in minutes, using ingredients I usually already have on hand. It feels magical to turn fresh snow into a dessert, and I also appreciate how customizable it is with different flavors and mix-ins.
Ingredients
(Tip: You’ll find the full list of Ingredients and measurements in the recipe card below.)
8 cups fresh, clean snow
14 oz sweetened condensed milk
Optional additions I like to use include chocolate syrup, vanilla extract, or crushed freeze-dried fruit.
Directions
I start by collecting fresh, clean snow in a large bowl, making sure it’s fluffy and free of debris. I then slowly pour the sweetened condensed milk over the snow. Using a spoon, I gently stir until everything is evenly combined and creamy. If I want extra flavor, I mix it in at this stage and serve immediately.
Servings And Timing
I usually get about 4 servings from this recipe.
Preparation time is around 5 minutes, and there is no cooking time required. I always serve it right away for the best texture.
Variations
I sometimes add chocolate syrup for a classic chocolate flavor. On other days, I mix in a little vanilla extract or strawberry syrup. I also like sprinkling crushed freeze-dried fruit on top for extra flavor and color.
Storage/Reheating
I’ve found that this dessert is best enjoyed immediately. If I try to store it in the freezer, it freezes solid and loses its creamy texture. I don’t recommend reheating or storing leftovers, as the texture changes significantly.
FAQs
Is It Safe To Eat Snow Ice Cream?
I only make this recipe using fresh, clean snow collected away from roads and pollution. I always use my best judgment before making it.
Can I Use Evaporated Milk Instead?
I prefer sweetened condensed milk because it adds both sweetness and creaminess. Evaporated milk would require extra sugar and won’t be as rich.
Can I Make This Without Snow?
I’ve found that this specific recipe really depends on snow for its texture, so it doesn’t work the same way without it.
How Do I Make It Sweeter Or Less Sweet?
I adjust the sweetness by adding more or less condensed milk, depending on my taste.
Can Kids Help Make This Recipe?
I think this is a fun recipe for kids to help with, especially when it comes to mixing and adding toppings.
Conclusion
I love making snow ice cream because it’s simple, nostalgic, and perfect for snowy days. With minimal effort and just a couple of ingredients, I can create a fun dessert that feels like a winter tradition worth keeping.
This old-fashioned snow ice cream is a fun and nostalgic winter treat made with just two ingredients—fresh snow and sweetened condensed milk. It’s quick, creamy, and customizable for a magical cold-weather dessert.
Total Time:5 minutes
Yield:4 servings
Ingredients
8 cups fresh, clean snow
1 can (14 oz) sweetened condensed milk
Optional: chocolate syrup, vanilla extract, or crushed freeze-dried fruit
Instructions
Collect 8 cups of fresh, clean snow in a large bowl, making sure it’s free of dirt or debris.
Slowly pour the sweetened condensed milk over the snow.
Gently stir with a spoon until the mixture is evenly combined and creamy.
Add any optional flavorings like vanilla extract or chocolate syrup, and stir to incorporate.
Serve immediately for best texture and taste.
Notes
Use only freshly fallen, clean snow collected away from streets or rooftops.
This dessert is best eaten immediately—it does not store well in the freezer.
Add your favorite toppings for extra fun, like mini chocolate chips or sprinkles.


