I love how these Banana Pudding Cheesecake Cones combine three of my favorite desserts into one fun, handheld treat. The creamy banana pudding, rich cheesecake filling, and crunchy cone make every bite comforting and nostalgic, while still feeling a little special and playful.
Why You’ll Love This Recipe
I like this recipe because it’s easy to make but looks impressive, which makes it perfect for gatherings or a casual dessert at home. I enjoy that it doesn’t require baking the cones themselves, and I can prepare most of it ahead of time. The balance of banana flavor, creamy textures, and sweetness always feels just right to me.
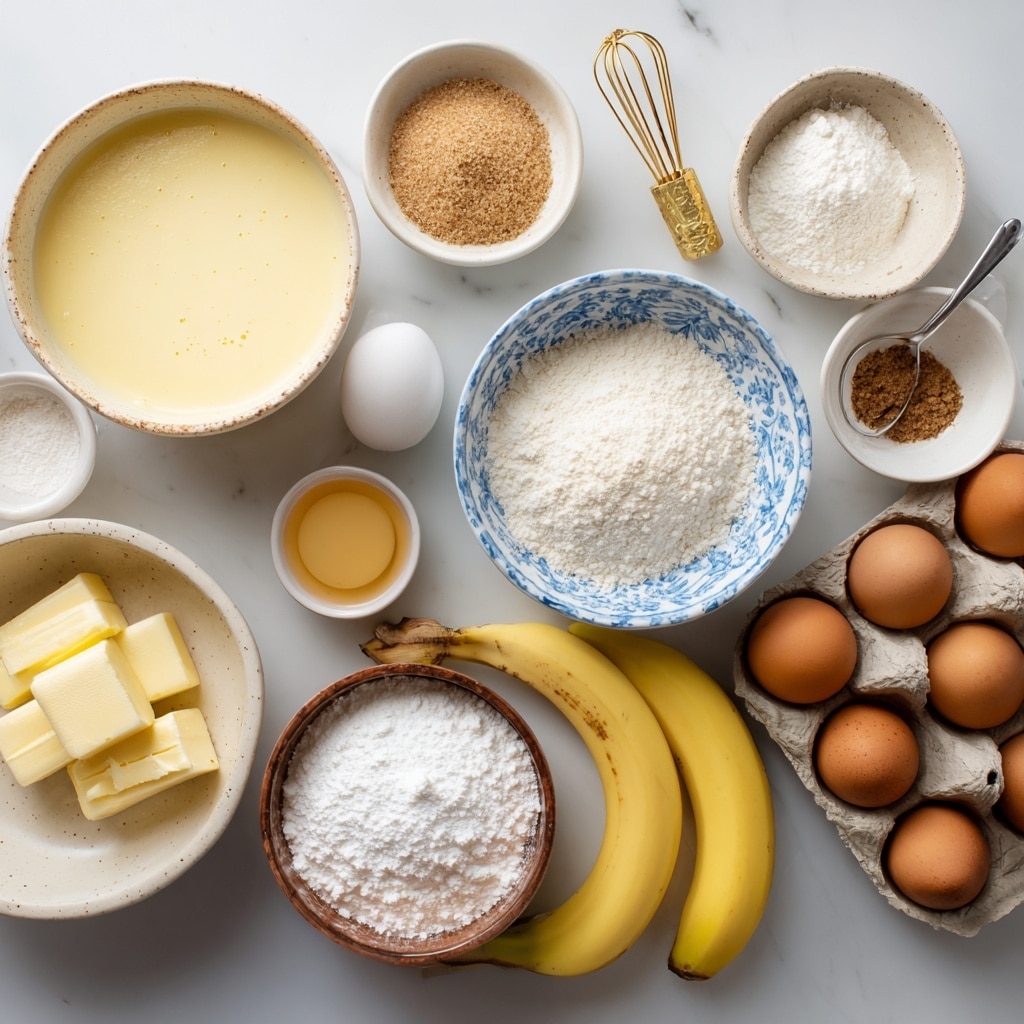
Ingredients
(Tip: You’ll find the full list of Ingredients and measurements in the recipe card below.)
For the banana pudding
2 cups whole milk
½ cup granulated sugar
¼ cup cornstarch
¼ teaspoon salt
1 teaspoon vanilla extract
2 ripe bananas, mashed
For the cheesecake filling
8 oz cream cheese, softened
½ cup heavy whipping cream
⅓ cup powdered sugar
1 teaspoon vanilla extract
For assembly
Ice cream cones or waffle cones
Crushed vanilla wafers or cookies
Banana slices (optional, for layering or topping)
Directions
I start by making the banana pudding. In a saucepan, I whisk together the milk, granulated sugar, cornstarch, and salt. I cook it over medium heat, stirring constantly, until it thickens. Once thick, I remove it from the heat and stir in the vanilla extract and mashed bananas. I let it cool completely.
Next, I prepare the cheesecake filling. In a bowl, I beat the softened cream cheese until smooth. I add the powdered sugar and vanilla extract, then slowly mix in the heavy cream. I continue beating until the mixture becomes light and fluffy.
To assemble, I spoon a little crushed vanilla wafers into the bottom of each cone. I layer banana pudding and cheesecake filling, repeating until the cones are full. I like to finish with extra crumbs or a small banana slice on top. I chill the cones in the refrigerator until ready to serve.
Servings And Timing
I usually get about 8 cones from this recipe.
Preparation time takes around 25 minutes, with an additional 1 hour of chilling time. There is no baking involved, which makes this a quick and convenient dessert for me.
Variations
I sometimes add a drizzle of caramel or chocolate sauce between the layers for extra sweetness. When I want more texture, I mix mini chocolate chips into the cheesecake filling. I also like using chocolate-coated cones for a richer flavor.
Storage/Reheating
I store the filled cones in the refrigerator for up to 2 days. I like to keep them upright in a container so they don’t tip over. I don’t reheat this dessert, since it’s best enjoyed chilled.
FAQs
Can I make these cones ahead of time?
I often prepare them a day in advance and keep them refrigerated until serving.
Can I use store-bought banana pudding?
I can use store-bought pudding if I’m short on time, but I prefer homemade for better flavor.
What cones work best for this recipe?
I like waffle cones because they’re sturdier, but regular ice cream cones also work well.
Can I freeze Banana Pudding Cheesecake Cones?
I don’t recommend freezing them, as the texture of the pudding and cheesecake changes once thawed.
Can I make this recipe without bananas?
I can skip the bananas and make a vanilla pudding version if I want a different flavor.
Conclusion
I enjoy making Banana Pudding Cheesecake Cones whenever I want a dessert that’s fun, creamy, and full of flavor. This recipe brings together classic ingredients in a creative way, and it always feels like a treat worth sharing.
Banana Pudding Cheesecake Cones are a fun, no-bake dessert that layers creamy banana pudding, fluffy cheesecake filling, and crunchy vanilla wafers inside crispy cones for a handheld treat that’s perfect for parties or casual desserts.
Total Time:1 hour 25 minutes (includes chilling)
Yield:8 cones
Ingredients
For the banana pudding:
2 cups whole milk
½ cup granulated sugar
¼ cup cornstarch
¼ teaspoon salt
1 teaspoon vanilla extract
2 ripe bananas, mashed
For the cheesecake filling:
8 oz cream cheese, softened
½ cup heavy whipping cream
⅓ cup powdered sugar
1 teaspoon vanilla extract
For assembly:
Ice cream cones or waffle cones
Crushed vanilla wafers or cookies
Banana slices (optional, for layering or topping)
Instructions
In a saucepan, whisk together milk, granulated sugar, cornstarch, and salt over medium heat.
Cook, stirring constantly, until the mixture thickens.
Remove from heat and stir in vanilla extract and mashed bananas.
Let the pudding cool completely.
In a mixing bowl, beat the softened cream cheese until smooth.
Add powdered sugar and vanilla extract, then gradually mix in the heavy whipping cream.
Beat the mixture until light and fluffy.
Spoon crushed vanilla wafers into the bottom of each cone.
Layer banana pudding and cheesecake filling into the cones, repeating until full.
Top with additional wafer crumbs or banana slices if desired.
Chill the cones in the refrigerator until ready to serve.
Notes
Use waffle cones for a sturdier base.
Chill the cones upright to prevent tipping and keep them crisp.
Store-bought banana pudding can be used for convenience.
Add caramel or chocolate drizzle between layers for added sweetness.
Best served chilled; do not freeze to maintain texture.


