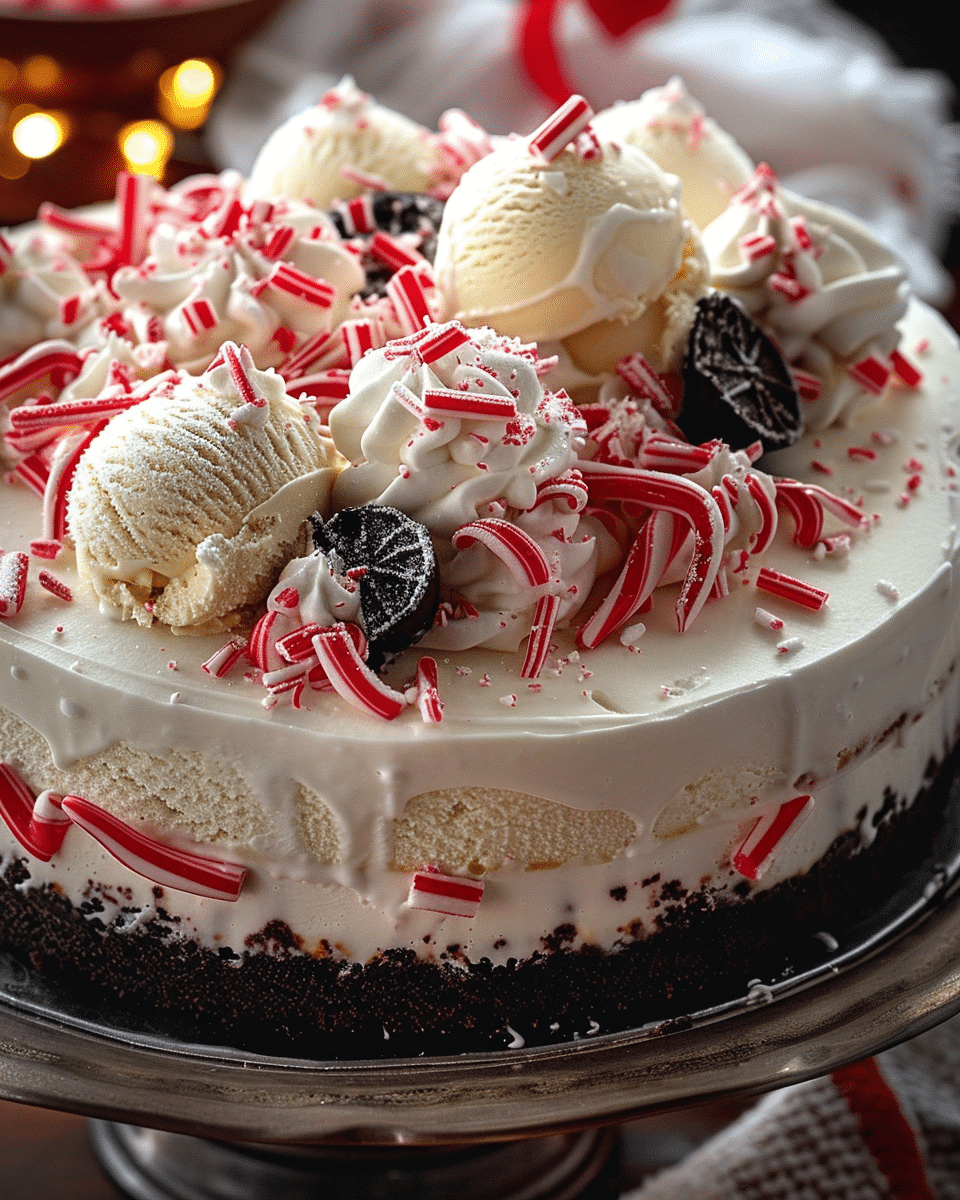
This Peppermint Ice Cream Cake is the ultimate no-bake holiday dessert. With a chocolate cookie crust, cool peppermint and creamy vanilla ice cream layers, plus fluffy whipped topping and festive peppermint garnish, it’s as eye-catching as it is delicious. I love serving it at Christmas parties, but honestly, I’d enjoy this anytime I want a refreshing frozen treat with a minty twist.
Why You’ll Love This Recipe
I love how easy and flexible this cake is. It doesn’t require baking, which makes it perfect when I want a fuss-free dessert. The combination of mint and chocolate is timeless, and the texture is amazing with a crunchy crust, smooth ice cream, and fluffy whipped topping. Plus, it looks stunning with crushed peppermint on top, and it’s easy to make ahead for entertaining.
Ingredients
(Here’s a tip: Check out the full list of ingredients and measurements in the recipe card below.)
For the crust: • 24 chocolate sandwich cookies (like Oreos) • 4 tablespoons (1/2 stick) unsalted butter, melted
For the ice cream layers: • 1½ quarts (6 cups) peppermint ice cream, slightly softened • 1½ quarts (6 cups) vanilla or chocolate ice cream, slightly softened
Optional add-ins: • 1 cup crushed peppermint candies or candy canes • ½ cup mini chocolate chips or chocolate shavings
For the topping: • 1½ cups heavy whipping cream • 2 tablespoons powdered sugar • ½ teaspoon vanilla extract • Crushed peppermint or chocolate curls for garnish
Directions
Make the crust I crush the chocolate cookies into fine crumbs using a food processor (or a rolling pin and zip-top bag when I’m in a hurry). Then, I mix the crumbs with melted butter and press the mixture firmly into the bottom of a 9-inch springform pan. I pop it in the freezer for 15–20 minutes to set.
First ice cream layer I spread the peppermint ice cream evenly over the chilled crust. If I’m feeling fancy, I sprinkle in crushed peppermint or mini chocolate chips. Then it goes back in the freezer for 30–45 minutes until it’s firm.
Second ice cream layer Next, I spread the vanilla or chocolate ice cream over the peppermint layer and smooth the top. I cover the cake and freeze it for at least 4 hours, or overnight, until everything is completely firm.
Make the whipped topping In a cold bowl, I whip the heavy cream with powdered sugar and vanilla until stiff peaks form. Then I spread or pipe the whipped cream over the top of the frozen cake.
Garnish and serve Right before serving, I sprinkle crushed peppermint candies or chocolate curls on top. I let the cake sit at room temperature for about 10–15 minutes before slicing with a warm knife for those nice clean cuts.
Servings and timing
This Peppermint Ice Cream Cake serves about 12 people. The prep time is around 30 minutes, plus at least 5 hours of total freezing time (including chilling between layers and the final set). I always plan ahead and make it the night before.
Variations
I like playing with different ice cream flavors—cookies and cream instead of vanilla is one of my favorite swaps. For a fun twist, I’ve also tried layering in fudge sauce or crushed chocolate-covered peppermint bark between the ice cream layers. If I want to skip the homemade whipped cream, I sometimes use store-bought whipped topping as a shortcut.
Storage/Reheating
I keep leftovers tightly wrapped in the freezer for up to 1 week. To keep the whipped topping fresh, I sometimes store it separately and add it just before serving. No need to reheat, of course—it’s best served frozen. I just let it soften a bit on the counter before slicing again.
FAQs
How far in advance can I make this ice cream cake?
I usually make it a day ahead, but it can be made up to 3 days in advance. Just keep it tightly covered in the freezer.
Can I use a different crust?
Yes, I’ve used graham cracker crusts and even brownie bases when I want something richer. Just make sure it’s fully chilled before layering in the ice cream.
What if I can’t find peppermint ice cream?
I sometimes use vanilla ice cream with a bit of peppermint extract stirred in, then mix in crushed peppermint candies to recreate the flavor.
How do I slice the cake neatly?
I warm a knife under hot water, wipe it dry, then slice. I repeat this between cuts for clean slices.
Can I make this dairy-free?
Yes, there are great dairy-free ice cream options available now. I just make sure to use a non-dairy whipped topping too.
Conclusion
This Peppermint Ice Cream Cake is one of my favorite go-to desserts during the holidays. It’s easy to make, customizable, and always a crowd-pleaser. Whether I’m hosting a party or just want a cool treat in the freezer, this cake never disappoints.
This Peppermint Ice Cream Cake is a no-bake holiday dessert featuring a chocolate cookie crust, layers of peppermint and vanilla ice cream, whipped topping, and festive peppermint garnish. It’s an easy, make-ahead treat perfect for entertaining.


