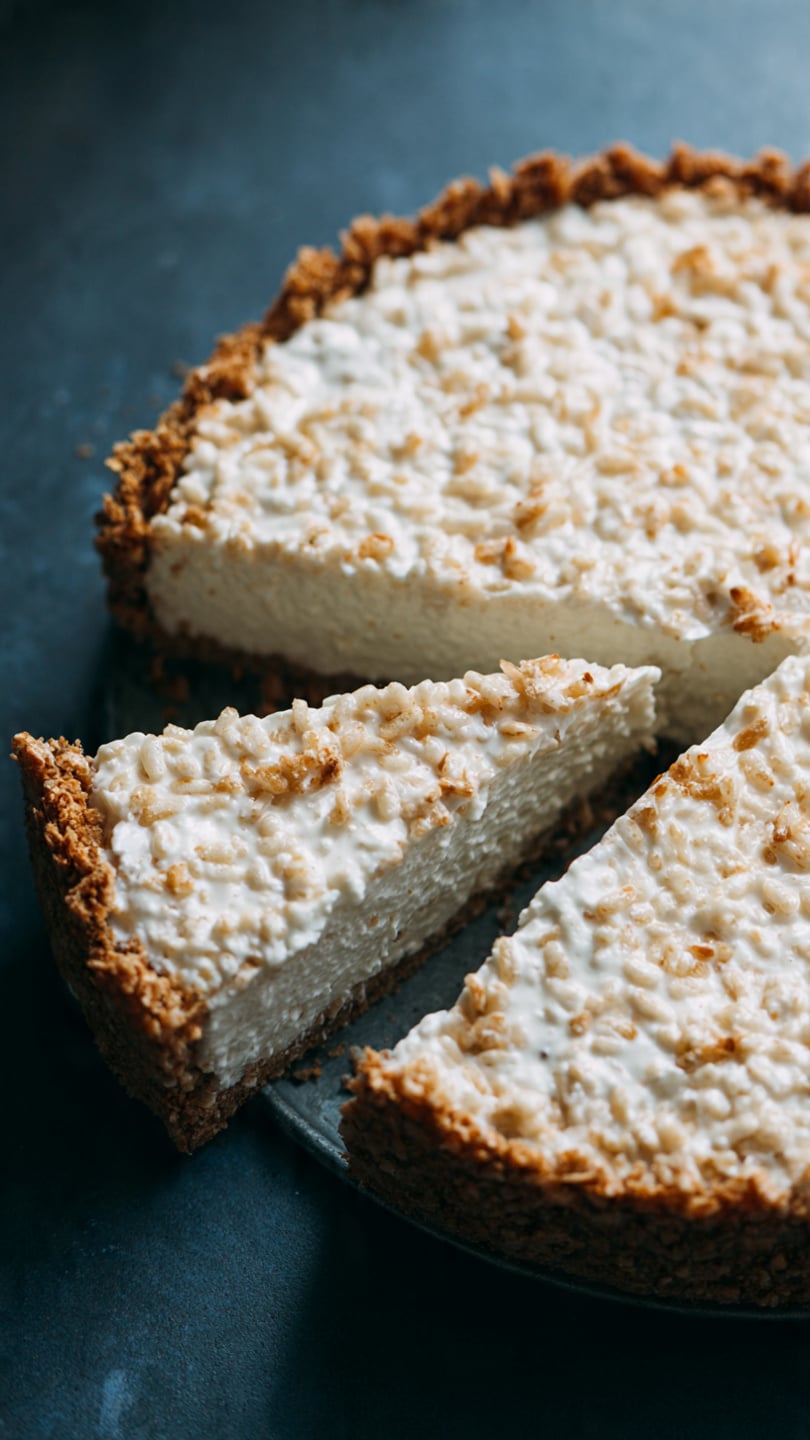
I love making this Rice Krispy Treat No-Bake Cheesecake when I want a fun, crowd-pleasing dessert without turning on the oven. It combines the nostalgic crunch of Rice Krispy treats with a smooth, creamy cheesecake filling, making it both playful and indulgent. This is the kind of dessert I bring to gatherings when I want something easy that still feels special.
Why You’ll Love This Recipe
I like this recipe because it is completely no-bake, quick to assemble, and perfect for any season. I enjoy the contrast between the chewy, crispy crust and the rich, creamy filling. I also appreciate how customizable it is, whether I want to keep it classic or add toppings for extra flair.
Ingredients
(Tip: You’ll find the full list of Ingredients and measurements in the recipe card below.)
For the crust
6 cups Rice Krispies cereal
¼ cup salted butter
1 (10 oz) bag mini marshmallows
For the filling
16 oz cream cheese, softened
1 cup granulated sugar
1 tsp pure vanilla extract
1 ½ cups heavy whipping cream
Directions
I start by preparing the crust. I melt the butter in a large pot over low heat, then stir in the mini marshmallows until they are completely melted and smooth. I remove the pot from the heat and fold in the Rice Krispies cereal until everything is evenly coated.
I press the mixture firmly into the bottom of a greased springform pan or baking dish, using a spatula or my hands. I let the crust cool and set while I make the filling.
For the filling, I beat the softened cream cheese until smooth and creamy. I add the sugar and vanilla extract and continue mixing until fully combined. In a separate bowl, I whip the heavy cream until stiff peaks form, then gently fold it into the cream cheese mixture.
I spread the filling evenly over the cooled crust and smooth the top. I refrigerate the cheesecake for at least 4 hours, or until fully set, before slicing and serving.
Servings And Timing
I usually get about 10 to 12 servings from this recipe.
Preparation time is around 20 minutes.
Chilling time takes about 4 hours.
Total time comes to approximately 4 hours and 20 minutes.
Variations
I sometimes add a chocolate drizzle or fruit topping on top for extra flavor. I like mixing crushed cookies into the filling for texture, or adding lemon zest for a brighter taste. When I want a festive version, I top it with colorful sprinkles or seasonal candies.
Storage/Reheating
I store this cheesecake covered in the refrigerator for up to 4 days. Since this is a no-bake dessert, I do not reheat it. I simply slice and serve it straight from the fridge.
FAQs
Can I Make This Dessert Ahead Of Time?
I often make it a day in advance because it sets beautifully overnight and tastes even better chilled.
Can I Use Regular Marshmallows Instead Of Mini Ones?
I can use regular marshmallows, but I usually cut them into smaller pieces so they melt more evenly.
What Pan Works Best For This Recipe?
I prefer using a springform pan for easy removal, but a regular square or rectangular dish works just fine.
Can I Freeze This Cheesecake?
I can freeze it for up to one month, but I let it thaw in the refrigerator before serving for the best texture.
How Do I Know When The Cheesecake Is Set?
I know it is ready when the filling feels firm to the touch and holds its shape when sliced.
Conclusion
I find this Rice Krispy Treat No-Bake Cheesecake to be the perfect balance of fun and creamy indulgence. It is simple to make, easy to customize, and always a hit whenever I serve it. This is one of those desserts I keep coming back to when I want something effortless yet memorable.


