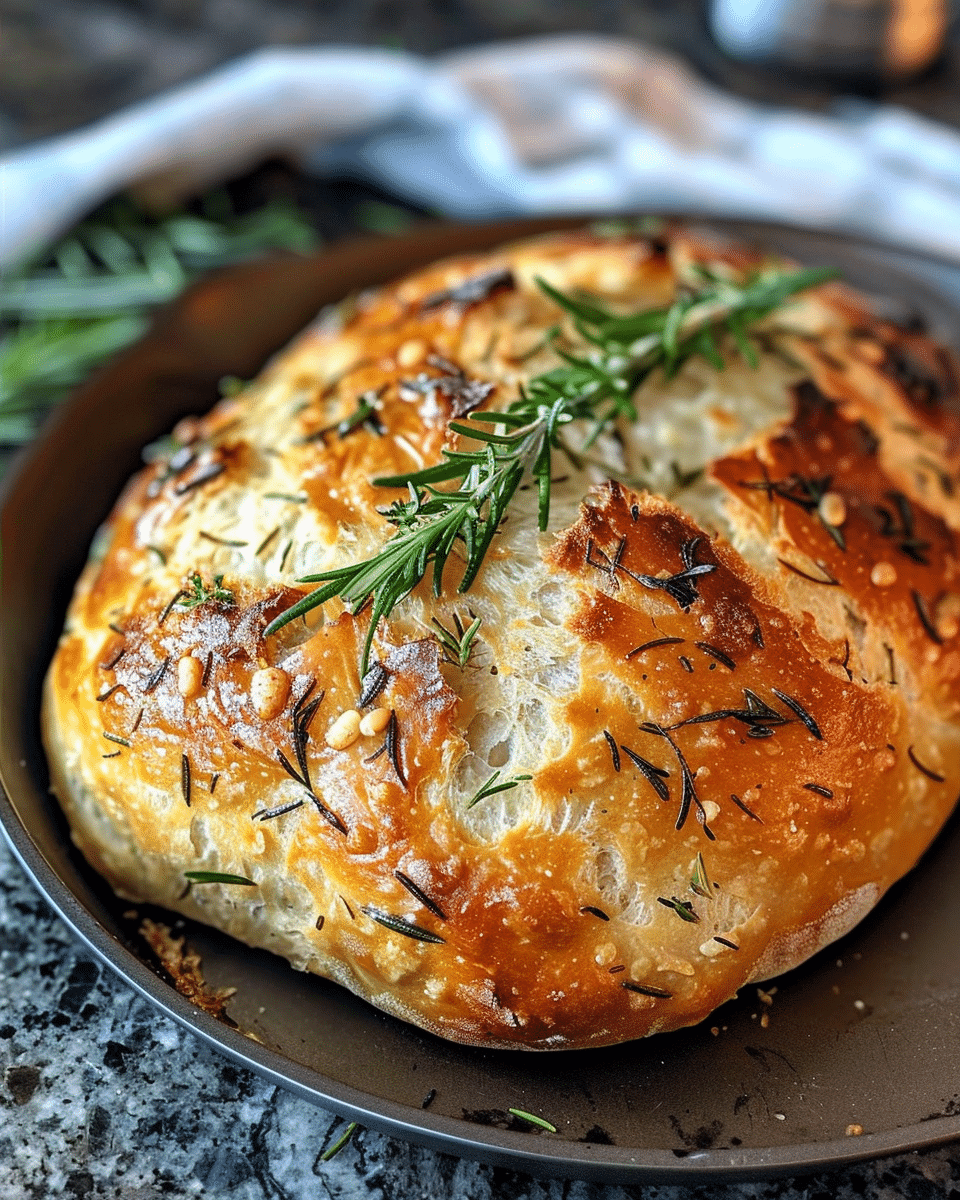
This rustic no-knead rosemary garlic bread delivers artisan-quality results with hardly any work. Infused with the earthy aroma of fresh rosemary and the rich sweetness of roasted garlic, the bread comes out of the oven with a crackly golden crust and a tender, chewy crumb. Whether I pair it with a cozy bowl of soup, a hearty pasta dish, or just tear off pieces to dip in olive oil, this loaf always feels like something special—yet it’s surprisingly easy to make.
Why You’ll Love This Recipe
I love how simple this bread is to put together—no kneading, no fancy equipment, and just a few ingredients I likely already have on hand. The overnight fermentation gives the dough a deep flavor and airy texture without any extra effort. The roasted garlic melts into the dough, giving every bite a gentle sweetness, while the rosemary adds a woodsy, herby balance. It’s the kind of bread that tastes like it came from a bakery, but I can make it in my own kitchen with minimal prep.
Ingredients
(Here’s a tip: Check out the full list of ingredients and measurements in the recipe card below.)
3 cups all-purpose flour (or bread flour)
2 tsp salt
½ tsp instant yeast
1 ½ cups warm water
2 tbsp fresh rosemary (chopped)
4 cloves roasted garlic (mashed)
1 tbsp olive oil (optional, for added flavor)
Directions
-
Mix the dough – I start by whisking together the flour, salt, and yeast in a large bowl. Then I stir in the warm water, rosemary, roasted garlic, and olive oil if I’m using it. I mix just until a sticky, shaggy dough forms—no kneading needed.
-
First rise – I cover the bowl with plastic wrap or a clean towel and let it rest at room temperature for 12 to 18 hours. By morning, it’s doubled in size and full of bubbles.
-
Shape the dough – On a lightly floured surface, I gently turn out the dough and shape it into a ball. I don’t knead it—just a quick, gentle shaping. Then I place it on parchment paper, cover it loosely, and let it rest for another 30 to 40 minutes.
-
Preheat the oven – While the dough is resting, I preheat the oven to 450°F (230°C) with my Dutch oven (and its lid) inside.
-
Bake the bread – Once everything’s hot, I carefully transfer the dough (still on the parchment) into the Dutch oven. I cover it and bake for 30 minutes, then remove the lid and bake for another 10 to 15 minutes until it’s golden and crusty.
-
Cool and serve – I lift the bread out and let it cool on a wire rack. Once it’s cool, it slices beautifully.
Servings and Timing
This recipe makes one round loaf, which serves about 8 people.
Prep Time: 10 minutes
Resting/Rise Time: 12 to 18 hours (overnight) + 30–40 minutes second rise
Bake Time: 40–45 minutes
Total Time: Approximately 13 to 19 hours, with most of that being hands-off
Variations
-
Cheesy Twist: I like to add ½ cup of shredded parmesan or mozzarella to the dough for a cheesy depth.
-
Olive Loaf: Chopped kalamata olives make a great salty contrast—about ¼ cup is plenty.
-
Herb Blend: I swap rosemary with thyme or oregano, or use a mix for more herbal complexity.
-
Spicy Kick: A pinch of red pepper flakes adds heat that pairs beautifully with the garlic.
-
Whole Wheat Option: I sometimes replace 1 cup of the all-purpose flour with whole wheat flour for a nuttier flavor and heartier texture.
Storage/Reheating
I store leftovers in a paper bag or bread box at room temperature for up to 3 days. If I want to keep the crust crisp, I avoid sealing it in plastic. To reheat, I wrap the loaf in foil and warm it in a 350°F (175°C) oven for about 10 minutes. Slices also toast up wonderfully.
FAQs
How do I roast garlic for this bread?
I roast whole garlic cloves by wrapping them in foil with a drizzle of olive oil and baking at 375°F (190°C) for 30 to 40 minutes. Once soft, I squeeze the cloves from their skins and mash them before mixing into the dough.
Can I use dried rosemary instead of fresh?
Yes, I can substitute dried rosemary, but I only use 1 tablespoon since dried herbs are more concentrated. The flavor won’t be as vibrant, but it still works well.
Can I make this without a Dutch oven?
If I don’t have a Dutch oven, I use any oven-safe pot with a lid or even a baking dish covered tightly with foil. The goal is to trap steam, which helps form the crust.
Can I make this gluten-free?
Yes, I can use a gluten-free all-purpose flour blend that includes xanthan gum. The texture will be slightly different, but still tasty. I may need to experiment with water levels.
What’s the best way to serve this bread?
I love it sliced thick with a drizzle of olive oil, alongside soups or stews, or used for open-faced sandwiches. It’s also excellent toasted with butter for breakfast.
Conclusion
This rustic no-knead rosemary garlic bread proves that artisan baking doesn’t have to be complicated. With just a few ingredients and a bit of patience, I get a deeply flavorful loaf with a crisp crust and tender crumb. Whether it’s the centerpiece of a meal or just a cozy homemade treat, this bread always hits the mark.
Print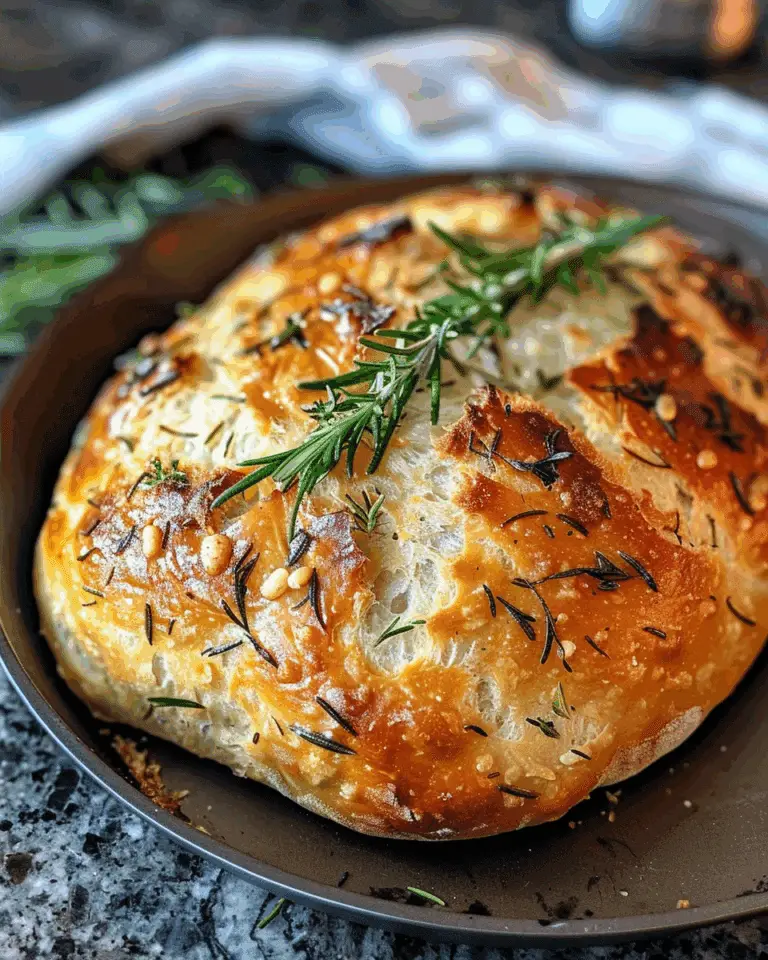
Rustic No-Knead Rosemary Garlic Bread
This rustic no-knead rosemary garlic bread features a chewy, airy crumb and golden crust, infused with roasted garlic and fresh rosemary. It’s an artisan-style loaf made with minimal effort, requiring no kneading and just a handful of simple ingredients.
- Total Time: 13 to 19 hours (mostly inactive)
- Yield: 1 loaf (about 8 servings)
Ingredients
3 cups all-purpose flour (or bread flour)
2 tsp salt
½ tsp instant yeast
1½ cups warm water
2 tbsp fresh rosemary, chopped
4 cloves roasted garlic, mashed
1 tbsp olive oil (optional)
Instructions
- In a large bowl, whisk together flour, salt, and yeast.
- Stir in warm water, rosemary, roasted garlic, and olive oil if using. Mix until a sticky, shaggy dough forms.
- Cover the bowl with plastic wrap or a towel and let rest at room temperature for 12–18 hours until doubled and bubbly.
- Turn dough out onto a lightly floured surface and gently shape into a ball without kneading.
- Place the dough on parchment paper, cover loosely, and let rest for another 30–40 minutes.
- Meanwhile, preheat oven to 450°F (230°C) with a Dutch oven and lid inside.
- Carefully transfer dough with parchment into the hot Dutch oven, cover, and bake for 30 minutes.
- Remove lid and bake another 10–15 minutes until crust is golden and crisp.
- Lift bread out and cool on a wire rack before slicing.
Notes
- Use dried rosemary if needed—reduce amount to 1 tbsp.
- For extra flavor, add ½ cup shredded cheese or chopped olives.
- Whole wheat flour can replace 1 cup of all-purpose flour.
- Bread keeps best in a paper bag or bread box for up to 3 days.
- Reheat wrapped in foil at 350°F (175°C) for 10 minutes.
- Can be made in any oven-safe pot with a lid if no Dutch oven is available.
- Prep Time: 10 minutes
- Cook Time: 40–45 minutes
- Category: Bread
- Method: Baking
- Cuisine: American
- Diet: Vegan
Nutrition
- Serving Size: 1 slice (1/8 loaf)
- Calories: 180
- Sugar: 0g
- Sodium: 390mg
- Fat: 2.5g
- Saturated Fat: 0.3g
- Unsaturated Fat: 2.2g
- Trans Fat: 0g
- Carbohydrates: 35g
- Fiber: 1g
- Protein: 5g
- Cholesterol: 0mg

