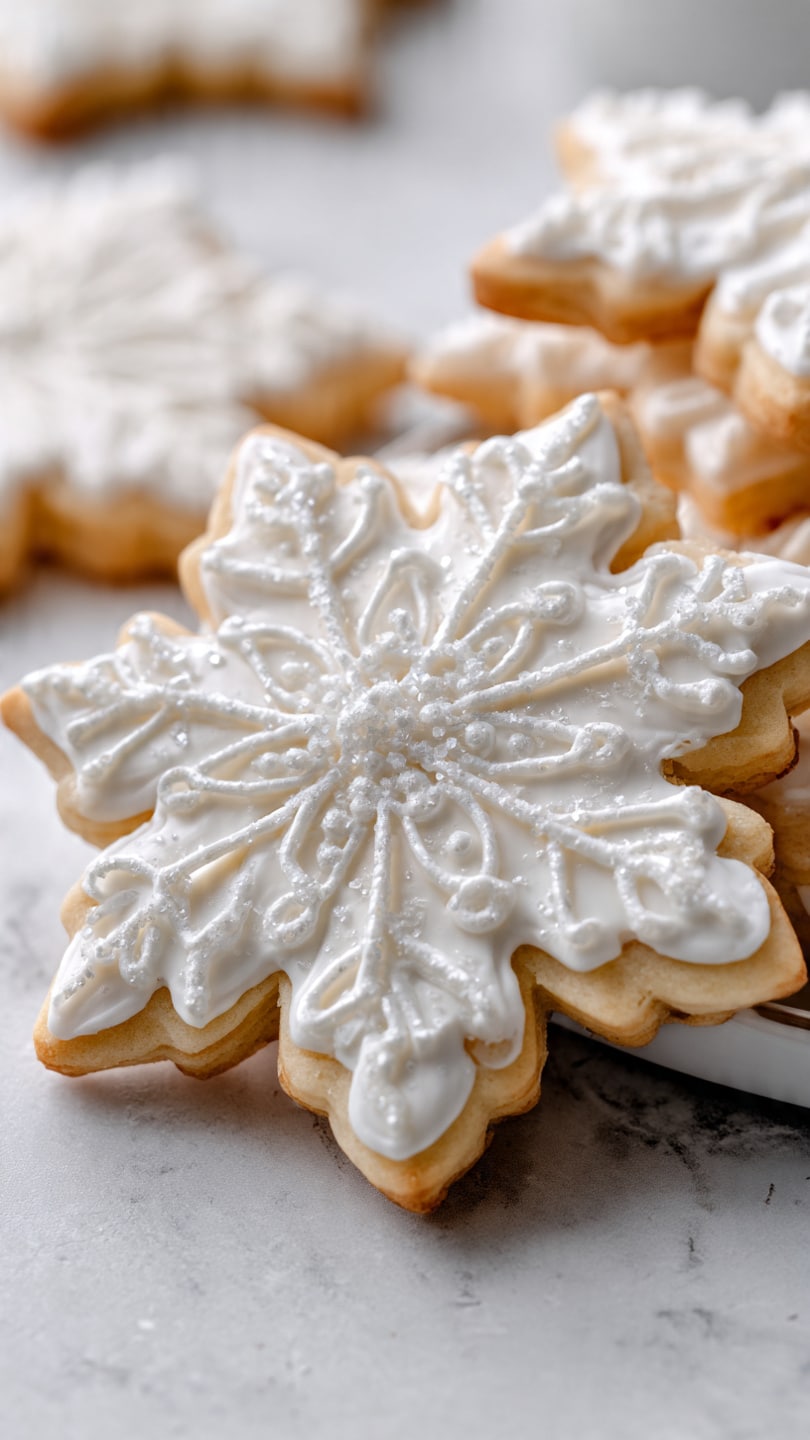
I love having a reliable sugar cookie icing that dries firm and glossy, and this one never lets me down. It gives my cookies a clean, bakery-style finish that sets beautifully without smudging. The texture is smooth, the sweetness is light, and once it dries, I can stack, gift, or ship cookies with confidence. I also enjoy how easy it is to adjust the consistency depending on whether I’m piping details or flooding whole cookies.
Why You’ll Love This Recipe
I like this recipe because it comes together in one bowl in just a few minutes with ingredients I already keep on hand. It hardens just enough to keep designs sharp while still being pleasant to bite into. I appreciate that it isn’t overly sweet, so the cookie flavor still shines. I can easily thin or thicken it depending on what I’m decorating, and it dries with a subtle shine that always makes my cookies look professional.
Ingredients
(Tip: You’ll find the full list of Ingredients and measurements in the recipe card below.)
Powdered sugar (confectioners’ sugar)
Milk or water
Light corn syrup
Pure vanilla extract or almond extract
Pinch of fine salt
Gel food coloring (optional)
Directions
I start by sifting the powdered sugar into a medium bowl so the icing stays smooth and lump-free. I then stir in the milk or water, light corn syrup, vanilla extract, and a tiny pinch of salt. I whisk everything until the icing looks glossy and slowly ribbons off the whisk.
If the icing feels too thick, I add liquid a half teaspoon at a time. If it becomes too thin, I mix in a bit more powdered sugar. For piping outlines and details, I keep the icing thick like toothpaste. For flooding, I thin it to a honey-like consistency that settles back into itself within about 10 to 15 seconds.
When I want color, I divide the icing into small bowls and gently mix in gel food coloring, being careful not to trap air bubbles. I cover each bowl with plastic wrap touching the surface so it doesn’t crust.
I outline each cookie first and let the outline set for about 5 to 10 minutes. Then I flood the center, using a toothpick to guide the icing to the edges and pop any bubbles. If I’m adding layered details, I let the base dry for 20 to 30 minutes before continuing. I allow the cookies to dry completely at room temperature for 8 to 12 hours or overnight before stacking or storing.
Servings And Timing
This icing makes enough to decorate about 24 standard sugar cookies. I usually need about 10 minutes to prepare the icing, and drying time ranges from 8 to 12 hours depending on humidity and how thick the designs are.
Variations
I sometimes swap part of the vanilla extract for almond extract when I want a classic bakery flavor. For a citrus twist, I replace some of the liquid with lemon juice and add a little zest. When I want a warmer flavor, I use maple extract and milk. I also enjoy turning it into a cocoa version by mixing in unsweetened cocoa powder. If I need a dairy-free option, I simply use water or a non-dairy milk.
Storage/Reheating
When the icing is prepared but unused, I store it in an airtight container with plastic wrap pressed directly on the surface and keep it in the refrigerator for up to one week. Before using it again, I stir well and add a few drops of liquid if needed. Fully decorated cookies, once completely dry, keep well at room temperature in an airtight container for 5 to 7 days with parchment paper between layers.
FAQs
Why Does This Icing Harden?
I find that the combination of powdered sugar and corn syrup allows the icing to set as the moisture evaporates, creating a firm, smooth finish that doesn’t smear.
How Long Does It Take To Dry Completely?
In my kitchen, a thin layer firms up within a couple of hours, but I always allow 8 to 12 hours or overnight before stacking or packaging.
Can I Skip The Corn Syrup?
I can skip it, but the icing will be less shiny and slightly more brittle. It still hardens, just with a different texture.
What Consistency Works Best For Flooding?
I aim for icing that settles back into itself in about 10 to 15 seconds after drizzling. This helps it spread evenly without overflowing the outline.
How Do I Prevent Bubbles In The Icing?
I mix gently instead of whipping, tap the cookie lightly on the counter after flooding, and pop any bubbles with a toothpick right away.
Conclusion
This sugar cookie icing that hardens has become my go-to for decorating because it’s simple, dependable, and beautiful once dry. I love how it holds clean lines, stacks easily, and gives my cookies a polished look every time. By taking my time with consistency and drying, I get consistent, stress-free results that make decorating genuinely enjoyable.
This simple sugar cookie icing dries smooth, shiny, and firm—perfect for decorating cookies with clean lines and vibrant colors. It’s easy to make, customizable, and ideal for both outlining and flooding.


