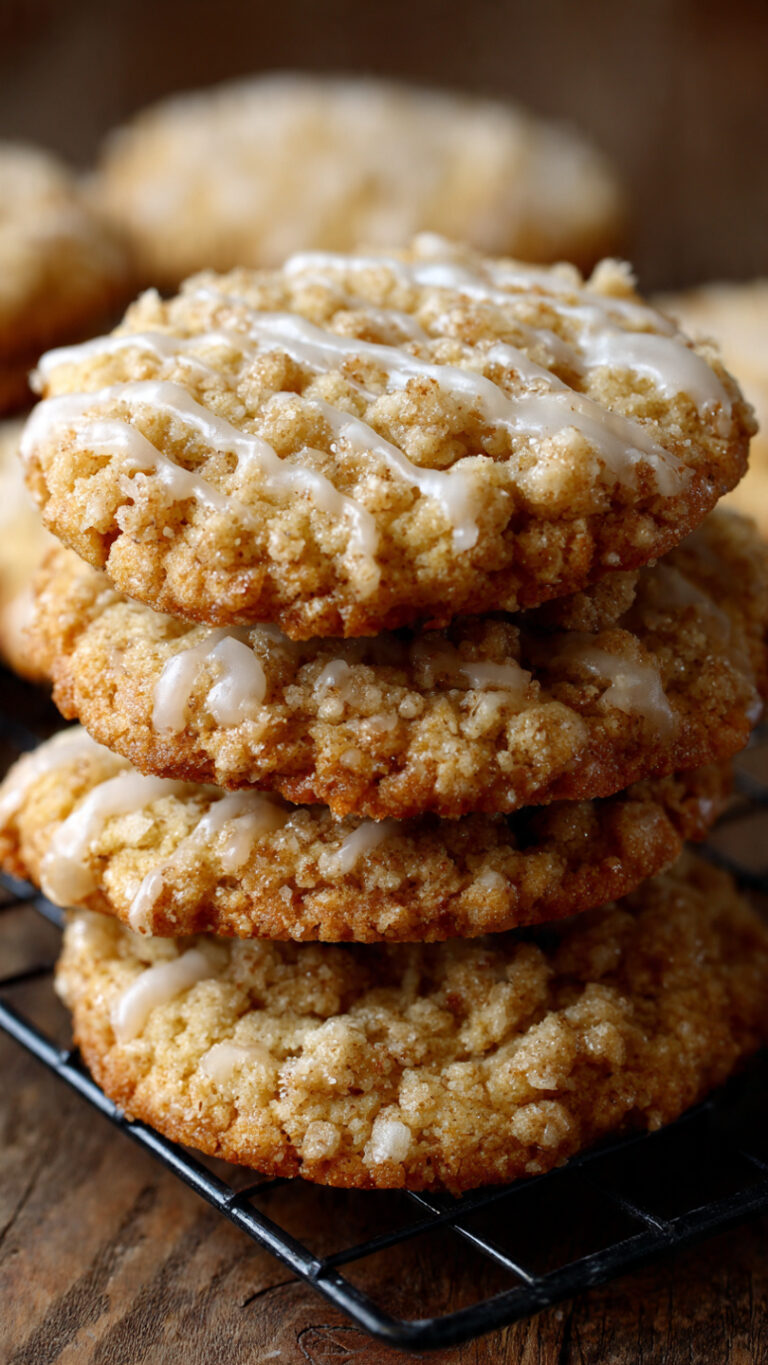
I absolutely adore these No Bake Cheesecake Balls Recipe because they bring all the creamy, dreamy cheesecake flavors into bite-sized, easy-to-share treats. Whenever I’m craving something indulgent yet simple, this recipe never fails to satisfy my sweet tooth without any oven fuss. The combination of smooth cream cheese, sweet vanilla, and graham cracker crumbs creates such a delightful flavor and texture that I just can’t resist. Plus, rolling these little balls in sprinkles or dipping them in chocolate makes them feel like a special celebration in every bite.
Why You’ll Love This No Bake Cheesecake Balls Recipe
What really makes this No Bake Cheesecake Balls Recipe stand out for me is the balance of rich, creamy cheesecake flavor with the subtle crunch and warmth of graham cracker crumbs. The sweetness is just right—never overpowering—which allows the clean vanilla notes to shine through. When I first tried this recipe, I was amazed at how something so simple could taste so indulgent, almost like a little piece of cheesecake heaven you can pop in your mouth anytime.
Another reason I love this recipe is how incredibly easy and quick it is to prepare. No baking means no heating up the kitchen, and the freezing step is a great pause point that fits perfectly into a busy schedule. These cheesecake balls are perfect for any occasion—whether it’s a casual get-together, a holiday party, or just an everyday treat to brighten your day. Honestly, whenever I bring these out, they’re the first to disappear, and it’s so fun to watch people’s faces light up with every bite.
Ingredients You’ll Need

The ingredient list for this recipe is wonderfully straightforward, yet every element plays an essential role in creating the perfect flavor and texture. Each ingredient contributes to making these cheesecake balls delightfully creamy, sweet, and visually irresistible.
- Cream cheese (8 oz., softened to room temperature): This is the creamy, tangy base that defines cheesecake flavor and texture.
- Sugar (⅓ cup): Adds just the right level of sweetness to balance the cream cheese.
- Vanilla extract (1 teaspoon): Provides warm, fragrant depth to the mixture.
- Graham cracker crumbs (2/3 cup): Adds slight crunch and a subtle honeyed flavor, mimicking a classic cheesecake crust.
- Sprinkles: For a fun, colorful coating that adds a playful touch and slight texture contrast.
- Melted chocolate (optional, about 12 oz.): For coating or drizzling, adds rich, smooth chocolate flavor if you want to elevate the treat.
- Canola oil (a teaspoon for melting chocolate): Helps melt the chocolate smoothly without seizing.
Directions
Step 1: In a medium-sized bowl, beat the softened cream cheese, sugar, and vanilla extract together using an electric mixer until the mixture is silky smooth and creamy. This step is important to ensure there are no lumps and the sweetness is fully incorporated.
Step 2: Fold in the graham cracker crumbs gently but thoroughly, mixing until the crumbs are evenly distributed throughout the cheesecake batter. This adds that wonderful texture contrast to the soft cream cheese.
Step 3: Place the mixture in the freezer for about 30 minutes. This chilling period allows the mixture to firm up just enough to make rolling it into balls easier and less sticky.
Step 4: Once the mixture is firm, lightly grease your hands with cooking spray to keep the mixture from sticking. Roll the cheesecake mixture into bite-sized balls, about 1 inch in diameter. You might need to spray your hands a couple of times as the mixture can be a bit sticky.
Step 5: Roll the cheesecake balls in sprinkles or graham cracker crumbs, pressing gently so they stick nicely. Alternatively, you can dip each ball in melted chocolate—after melting about 12 ounces of chocolate with a teaspoon of canola oil—to give them a rich, glossy coating. You can even add sprinkles on top before the chocolate sets for an extra festive look.
Step 6: Place the coated cheesecake balls on a tray or in a container and refrigerate for at least 4 hours to allow them to set firmly. Although you can eat them right away, chilling makes every bite perfectly smooth and firm.
Servings and Timing
This No Bake Cheesecake Balls Recipe yields about 20 bite-sized cheesecake balls, making it perfect for sharing at parties or keeping on hand for sweet cravings. The prep time is roughly 15 minutes if you have softened cream cheese ready, with an additional 30 minutes freezing step for the mixture to firm before rolling. The chilling time to set the final cheesecake balls is about 4 hours, so plan ahead for the best texture. In total, you’re looking at about 4 hours and 45 minutes from start to finish, most of which is hands-off chilling.
How to Serve This No Bake Cheesecake Balls Recipe

When I serve these cheesecake balls, I love keeping them chilled until just before serving so they maintain that perfect firmness. They’re wonderful on a dessert platter alongside fresh berries or slices of seasonal fruit which bring a refreshing burst to the creamy richness. For an extra touch, sprinkling a bit of crushed graham cracker crumbs over the plate adds lovely texture and echoing the classic cheesecake vibe.
If you’re going for a party presentation, arranging the cheesecake balls on a tiered serving tray or colorful plate can instantly elevate your dessert spread. I’ve also found that these pair delightfully with a light sparkling wine or a fruity cocktail like a raspberry mojito, which helps balance the richness. For non-alcoholic options, a chilled lemonade or herbal iced tea complements them beautifully.
These cheesecake balls are ideal for a variety of occasions—family dinners, holiday celebrations, or casual weekend hangouts. I often treat myself to a few chilled cheesecake bites as a mid-afternoon snack, and they never fail to brighten my day with their creamy, sweet goodness. The bite-size portions make it easy to enjoy without feeling guilty, plus they’re so much fun to share!
Variations
I love experimenting with this No Bake Cheesecake Balls Recipe to tweak flavors or fit different dietary needs. For a fruity twist, I sometimes add finely chopped strawberries or blueberries into the mixture before chilling, which adds a fresh pop of flavor and a bit of natural sweetness. You could also swap graham cracker crumbs for crushed digestive biscuits or gluten-free cookies if needed.
If you’re vegan or dairy-free, try using a vegan cream cheese substitute and coconut sugar instead of regular sugar. The texture might be a little different, but it still turns out wonderfully tasty and creamy. For a chocolate lover’s variation, substituting part of the graham cracker crumbs with finely crushed Oreos creates a decadent cookies-and-cream vibe.
Different coatings can completely change the look and flavor profile too. Besides sprinkles and melted chocolate, I’ve rolled the balls in toasted coconut flakes or chopped nuts like pistachios for more texture and a nutty dimension. Since this is a no-bake recipe, you don’t have to worry about heating times and can easily customize each batch with different finishes.
Storage and Reheating
Storing Leftovers
After making the cheesecake balls, I store any leftovers in an airtight container in the refrigerator. They keep their freshness and firmness wonderfully for up to 5 days. I recommend using a shallow container to avoid piling the balls on top of each other, which can cause the coatings to stick or get smushed.
Freezing
If you want to keep these treats longer, freezing is a great option. I place the cheesecake balls on a lined baking sheet to freeze individually for a couple of hours, then transfer them to a freezer-safe container or zip-top bag. Properly frozen, they can last up to 3 months. When you want to enjoy some, just thaw in the refrigerator for a few hours to restore their creamy texture.
Reheating
Since these are no-bake cheesecake balls, reheating isn’t usually necessary or recommended, as warmth can melt the coating and alter the texture. If you prefer them a bit softer, allowing them to sit at room temperature for 10-15 minutes helps soften them slightly without losing shape. Avoid microwaving, as it tends to cause the cream cheese to become grainy or the chocolate to seize.
FAQs
Can I make these cheesecake balls ahead of time?
Absolutely! I often make these cheesecake balls a day or two before I plan to serve them. Just store them in an airtight container in the fridge, and they’ll stay fresh and delicious. The flavors even get a bit more melded after sitting, which I love.
What if I don’t have graham cracker crumbs? Can I substitute something else?
Yes, you can! Digestive biscuit crumbs, vanilla wafer crumbs, or even crushed gluten-free cookies work great as a substitute for graham cracker crumbs. Each will add a slightly different flavor and texture, but all keep that nice crumbly contrast to the creamy cheesecake.
Can I make these cheesecake balls gluten-free?
Definitely. Just swap out the graham cracker crumbs for certified gluten-free crumbs or crushed gluten-free cookies. The rest of the ingredients are naturally gluten-free, so it’s an easy adjustment for those with gluten sensitivities.
How long do the cheesecake balls need to chill for best results?
I recommend chilling the mixture for at least 30 minutes before rolling to make shaping easier, then chilling the finished balls for at least 4 hours so they can firm up completely. Though you can eat them sooner, the texture will be softer and less set.
Can I use flavored cream cheese for this recipe?
You can, but I suggest sticking to plain cream cheese for the best classic cheesecake flavor. If you do want to try flavored options, choose mild, complementary flavors like vanilla or strawberry, and adjust the amount of added sugar accordingly since some flavored cream cheeses are already sweetened.
Conclusion
I hope you’re as excited as I am to try this No Bake Cheesecake Balls Recipe! They’re the perfect little indulgence—rich, creamy, fun to make, and even more fun to share. Whether you’re serving them at a party or enjoying them as a special treat, these cheesecake balls are sure to become a favorite in your collection of desserts. Give them a try, and I promise you’ll fall in love with every bite just like I did.